
macOS: Essential Productivity Hacks for Developers — No AI Needed
A fast, distraction-free workflow powered by open-source tools and keyboard-driven automation.


I’ve never been this productive on my Mac in the past two years. Sure, AI tools have helped a lot — but one of the key changes I made had nothing to do with AI. It’s much simpler than that.
I'm saving a ton of time just managing my laptop: opening new apps, switching tabs, or finding things is blazingly fast. It almost feels like mind control — but in reality, it's just a focused keyboard workflow. That’s the real key.
To do this, I use three open-source tools. In this blog, I’ll break down my setup step by step, how I use it, and why:
Raycast (bonus)
If you want a complete reference, you’ll find my full configuration in my dotfiles repository.
Level 0: Keyboard First
Let me repeat: I don’t think you can be truly productive as a developer (or any app-intensive user) if you rely too much on your mouse. The keyboard unlocks so many underrated possibilities.
We often underestimate how slow it is to click through UI elements.
Fun fact: Some banks and insurance companies still use old mainframe software where operators only use keyboards. I’ve worked on projects revamping those systems, and surprisingly, many operators were frustrated at being forced to use a mouse — even if the UI looked more modern and intuitive.
Here’s a simple test: if you’re right-handed, try using the mouse with your left hand for a few days. It’ll be so painful that you’ll naturally start figuring out faster ways to navigate — with the keyboard.
Once you get past the initial friction of memorizing keyboard shortcuts, you’ll never go back.
Level 1: Free Up Your Screen
So you’ve just booted up your Mac, and you see that ugly dock taking up precious screen space.

As developers, we spend most of our time in editors and browsers — every extra vertical pixel counts.
The first smart move? Shift the dock to the left and set it to auto-hide. Yes, it feels weird and empty at first. You might wonder: How do I switch apps now?
Level 2: App Shortcuts
There are multiple ways to handle app shortcuts — even built-in ones on macOS.
Aerospace, a tiling window manager, also supports assigning shortcuts to apps, all from a single config file.
To install Aerospace with Homebrew, you simply do :
brew install --cask nikitabobko/tap/aerospaceOnce launched, you’ll find its icon in the menu bar.
The configuration file is located at: ~/.config/aerospace/aerospace.toml
To create an app shortcut, use exec-and-forget and map it to a keybinding:
alt-b = 'exec-and-forget open -a /Applications/Brave\ Browser.app'I typically use the first letter of the app or context : alt+b (browser), alt+c (code) and alt+t (terminal)
Now you have a clean, keyboard-based app launcher — and more screen space. On to the next level: window management.
Level 3: Window Management
This is where a tiling window manager shines. It eliminates floating window chaos and allows for a structured, keyboard-driven layout.
What about Yabai ? I used Yabai for more than a year, and honestly, it integrates more natively but since macOs 15.2, SIP need to be disabled for some key features and it was a sad goodbye. If disabling SIP is not a blocker for you, I would recommend watching my video on Yabai setup. That being said, Aerospace now covers most of the same features.
To improve visual focus, I also recommend JankyBorders — a lightweight tool that highlights the currently focused window.
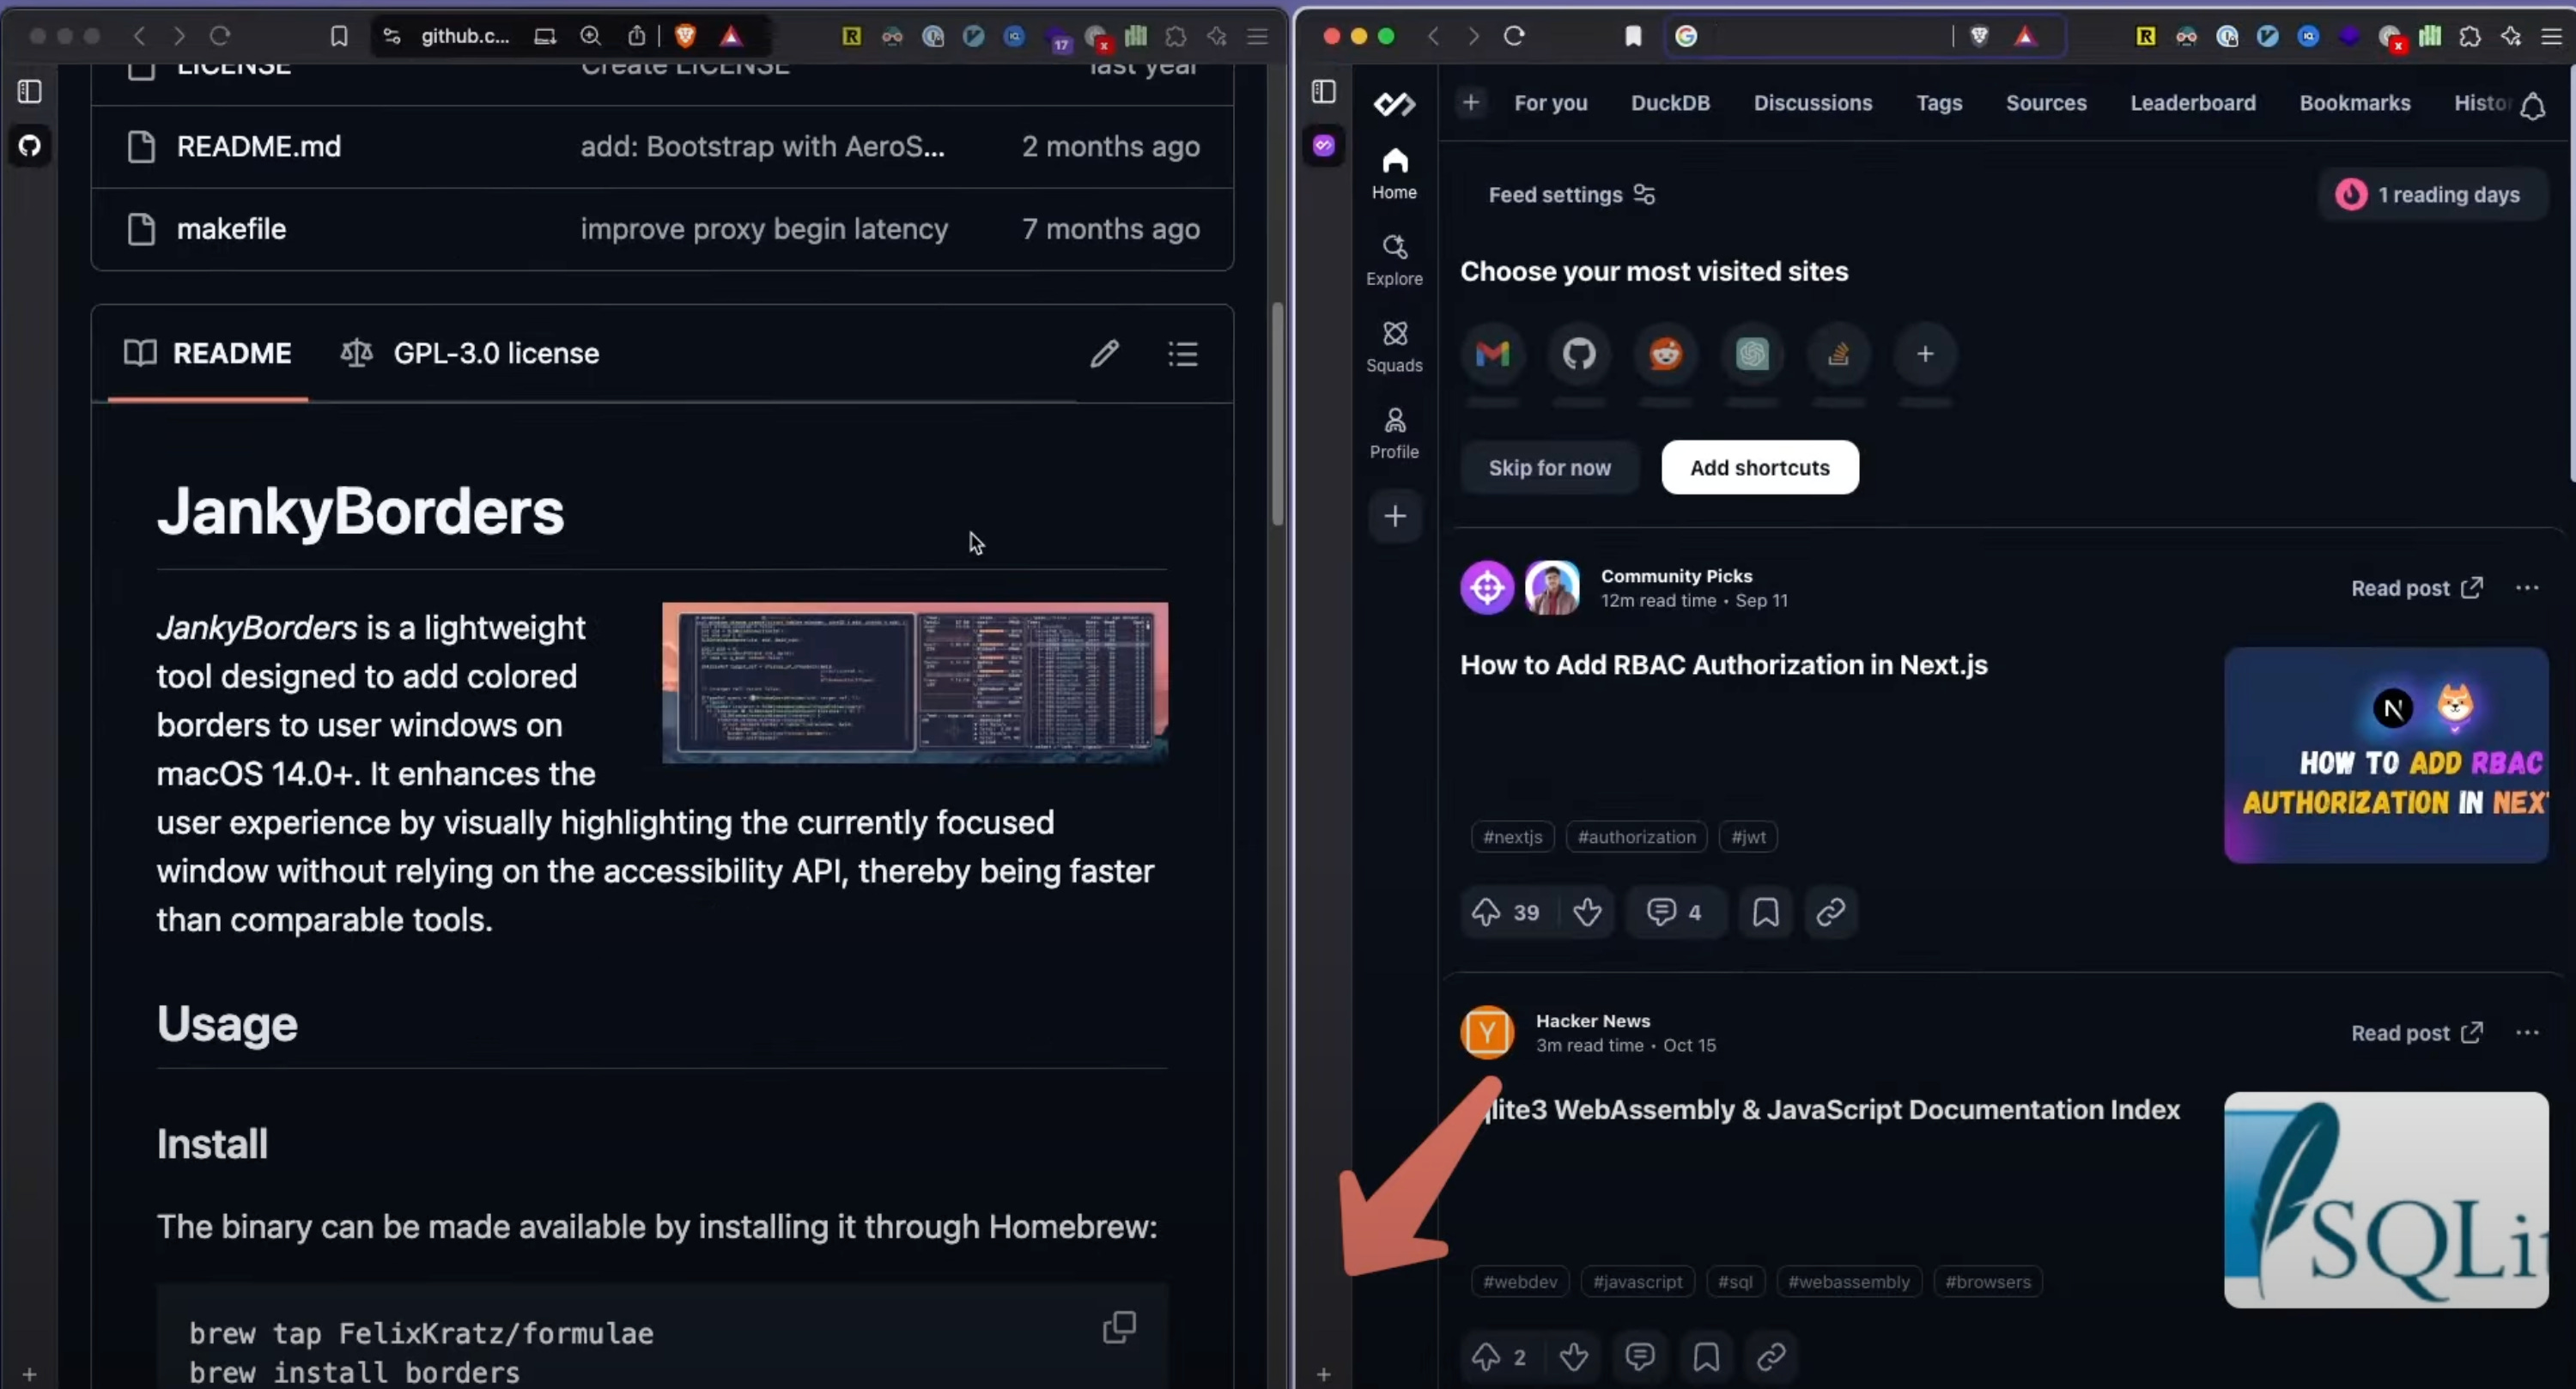
You can install it through Homebrew too, and the default configuration is already pretty fine.
brew tap FelixKratz/formulae
brew install borders
Now back to aerospace.toml. Here are some useful shortcuts for managing windows:
# toggle window zoom
alt-f = 'fullscreen'

# toggle window split type
alt-e = 'layout tiles horizontal vertical'

# focus window
alt-h = 'focus left'
alt-j = 'focus down'
alt-k = 'focus up'
alt-l = 'focus right'
For instance, whenever I open a new window on my browser - you'll see it going next nicely.
I can now easily switch focus on another window still using the keyboard. That's where having a visual cue, with janky boarders, of which window is being focused right now, helps.
You can also change the split or zoom temporarily on one window.
It starts to feel… blazingly fast.
Level 4: Workspaces
With smart workspace management, I barely need a second monitor. I use one 90% of the time.
macOS has a built-in Spaces feature, but there’s no clean API to control it. Yabai can hack into it, but again — SIP needs to be disabled. Instead, Aerospace introduces its own virtual workspaces.
Why use workspaces?
Dedicated apps on dedicated workspaces
Minimize clutter — aim for 1–2 apps per workspace
You can automate app-to-workspace assignment like so:
on-window-detected
if.app-id ='com.brave.Browser'
run = ['move-node-to-workspace 1']
Navigate or move windows between workspaces with:
alt-1 = 'workspace 1'
alt-2 = 'workspace 2'
alt-3 = 'workspace 3'
alt-4 = 'workspace 4'
alt-5 = 'workspace 5'
alt-6 = 'workspace 6'
alt-7 = 'workspace 7'

# See: https://nikitabobko.github.io/AeroSpace/commands#move-node-to-workspace
alt-shift-1 = 'move-node-to-workspace 1'
alt-shift-2 = 'move-node-to-workspace 2'
alt-shift-3 = 'move-node-to-workspace 3'
alt-shift-4 = 'move-node-to-workspace 4'
alt-shift-5 = 'move-node-to-workspace 5'
alt-shift-6 = 'move-node-to-workspace 6'
alt-shift-7 = 'move-node-to-workspace 7'
I usually assign 5 workspaces to my main screen and 2 to a secondary:
[workspace-to-monitor-force-assignment]
1 = 'main'
2 = 'main'
3 = 'main'
4 = 'main'
5 = 'main'
6 = 'secondary'
7 = 'secondary'
Now I can either go to a given workspace using alt+<number> or the app shortcut I put on initially if I want to join a specific app, so I don't have even to remember the space.
If I want to move an app to another screen, it’s as simple as moving it to a workspace assigned to that screen.
For example, to move an app from the main screen to the secondary screen:
Focus the app using its shortcut — for instance,
alt+tfor the terminal.Move it to workspace 6 or 7 (which are mapped to the secondary screen) using
alt+shift+6.
Now you might be wondering: “But Mehdi, how do you keep track of which apps are running in which workspace — especially if you’re constantly moving them around? Do you just memorize everything?”
That’s exactly where a custom status bar comes in.
If you want a deeper dive into Aerospace, check out my walkthrough video
Level 5: Custom Status Bar
Sketchybar replaces the default macOS menu bar with a customizable one — and frees up space.
Be honest: how often do you use the default menu bar? Once a week? That’s wasted space.
First, we'll autohide the macOs menu bar in System Settings > Control Center :

That means this one is still available if needed.
We'll use Sketchybar to display :
Workspaces and applications running
Focused windows
System info (battery, Wi-Fi, sound)
Install SketchyBar:
brew tap FelixKratz/formulae
brew install sketchybar
Start with someone else’s config — there are plenty of examples. My config is also available in my dotfiles.
The setup consists of:
sketchybarrc(main config file)Plugins (Bash/Lua scripts)
Thanks to Sketchybar I know now which workspace my apps are, plus what is the current active app/workspace selected.
Level S: Special God Mode
That covers the full window management workflow: app shortcuts, workspace assignments, tiling layout, and a smart status bar.
One last tool I rely on a lot is Raycast. Think of it as a command palette on steroids.
With Raycast, I:
Search files
Insert emojis
Launch specific git projects
Pick colors from my palette
And much more
Honestly, Raycast deserves its own blog post. If you’re a productivity nerd, let me know — I’d love to dive deeper.
In the meantime, take care of yourself — and your keyboard.
Nice stuff! Bravo! And yep, Raycast definitely deserves a dedicated post. I like it, but the setup might result over complicated! I’m gonna try this setup. I was a fan of Spectacle, now I’m using the native feature, but let’s say it’s not that good when you want a litlle more control.
Love this setup. Exactly what I use too. You might have mentioned this in your deeper dive into Aerospace - I also like to pin some apps to a workspace so they always open there.